
Planning a remodel? It’s exciting to imagine the finished result, but let’s be honest—dealing with the waste can feel like a massive headache. From piles of debris to leftover materials, managing it all can quickly become overwhelming. The good news? It doesn’t have to be! With a little preparation and the right strategies, you can keep your remodel organized and hassle-free. Here are five simple yet effective tips to streamline waste removal and make your project as smooth as possible.
Contents
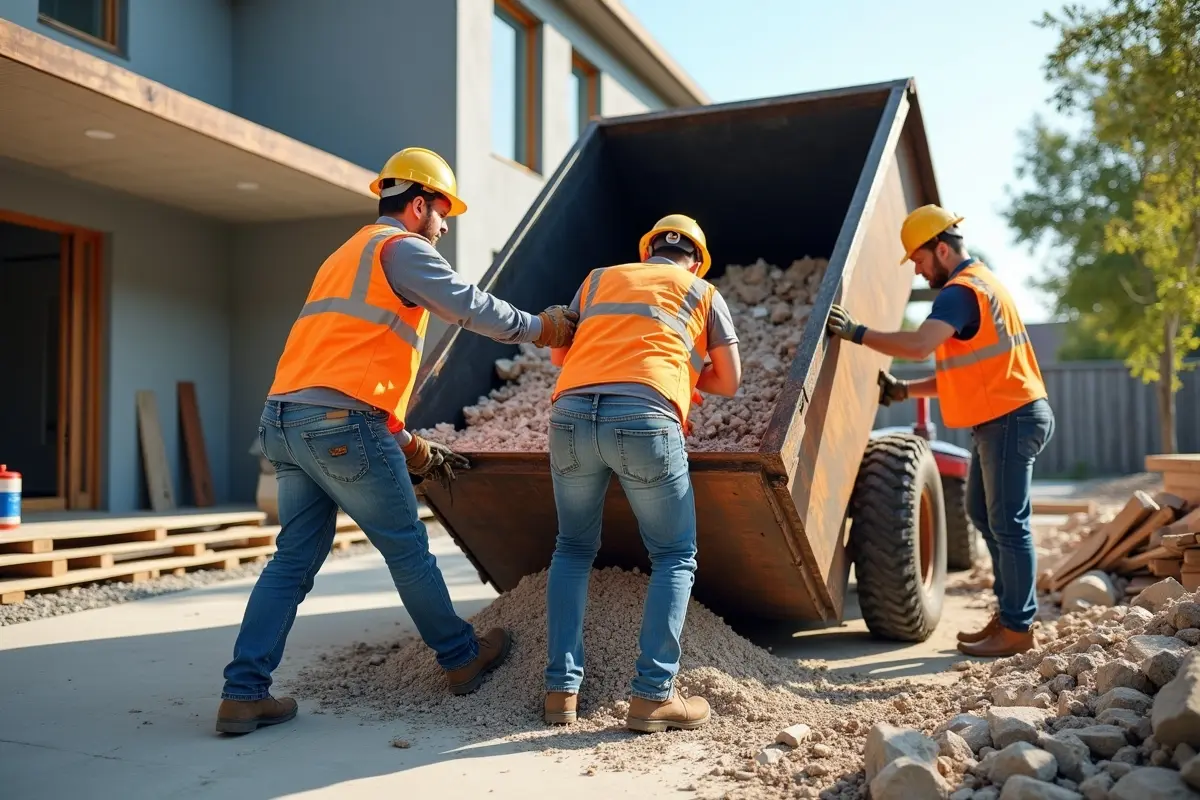
1. Rent a Dumpster
One of the best ways to handle trash removal for remodeling is by renting a dumpster. Have you considered how convenient it is to have one central place to toss everything? Whether it’s old drywall, broken tiles, or cabinetry, a dumpster can save you countless trips to the landfill.
Plus, they come in various sizes, so you can choose the one that fits your project. No more worrying about how to dispose of oversized or heavy items—they all go straight into the bin. When your remodel is done, the dumpster company handles the removal. Stress-free, right?
Here’s how to get started step by step:
Assess your needs
Start by figuring out how much waste your remodel is likely to produce. Are you gutting an entire kitchen or just replacing floors? This will help you estimate the dumpster size you’ll need.
Choose the right dumpster size
Dumpsters come in various sizes, typically measured in cubic yards. For smaller projects, a 10-yard dumpster might be enough. Larger jobs, like a full home remodel, may require a 20- or 30-yard dumpster. If you’re unsure, it’s better to size up to avoid overfilling.
Find a reputable rental company
Do some research to find a reliable dumpster rental service in your area. Look for companies with positive reviews, clear pricing, and flexible rental terms. Make sure they can deliver to your location and pick up when the job’s done.
Check permits and restrictions
Depending on where you live, you may need a permit to place a dumpster on the street or other public property. Check with your local council or municipality to ensure you’re compliant. It’s also good to confirm what materials are allowed in the dumpster, as some companies restrict items like hazardous waste.
Schedule delivery
Book your dumpster delivery for the start of your project, so you have it ready when the waste starts piling up. Make sure there’s enough space for the dumpster to be placed, whether in your driveway or another accessible spot.
Use the dumpster efficiently
Maximize space by breaking down large items and stacking waste neatly. Avoid overfilling the dumpster or exceeding weight limits, as this could result in extra fees.
Arrange for pickup
Once your project is complete, contact the rental company to schedule the dumpster pickup. They’ll haul it away, saving you time and effort.
2. Separate and Recycle
Did you know many materials from your remodel can be recycled instead of tossed away? Items like wood, metal, and even certain types of concrete can often be repurposed. Separating your waste not only reduces landfill impact but can also save you money if your area offers incentives for recycling construction materials.
Setting up a system before you start is key. Dedicate specific bins or piles for recyclable items, so it’s easy to sort as you work. You’ll feel good knowing you’re cutting down on waste and doing your part for the environment.
3. Plan Waste Removal Early
How much thought have you given to waste removal during your remodel planning? It’s easy to focus on design choices like paint colors and fixtures, but dealing with waste is just as important. By including waste management in your initial plan, you can avoid unexpected delays or costs.
For example, think about when and how often you’ll need waste pickup. Will one large haul be enough, or will you need regular pickups throughout the project? When you’ve got a solid plan in place, you won’t find yourself scrambling when your worksite is overflowing with debris.
4. Donate Usable Materials
Not everything from your remodel needs to end up in a dumpster. Have you thought about donating usable materials? Items like old cabinets, doors, and even light fixtures can often be reused by others.
Many organizations accept donations of building supplies and home goods, and some may even pick them up for free. It’s a win-win—you’ll clear space, reduce waste, and help someone else complete their project. So, before tossing everything out, take a moment to see what might still have life in it.
5. Keep the Worksite Tidy
A messy worksite isn’t just frustrating to work in—it also makes waste removal much harder. Do you find yourself stepping over debris or constantly searching for tools? Keeping the area tidy can save you time and reduce stress.
Set up a routine to clean up as you go, sweeping away dust and gathering scraps into designated bins. Not only does this make your space safer, but it also prevents waste from piling up. When the worksite stays organized, it’s easier to stay on top of the waste, too.
Making Remodeling Easier
Tackling a remodel doesn’t mean drowning in debris. By renting a dumpster, separating recyclable materials, planning waste removal early, donating what you can, and keeping your worksite tidy, you’ll set yourself up for success.
These small steps can make a huge difference in how smoothly your project runs. With a clear plan in place, you’ll spend less time worrying about waste and more time enjoying the transformation of your space. Ready to get started? Your remodel doesn’t have to be stressful—just follow these tips and watch the process unfold effortlessly!