
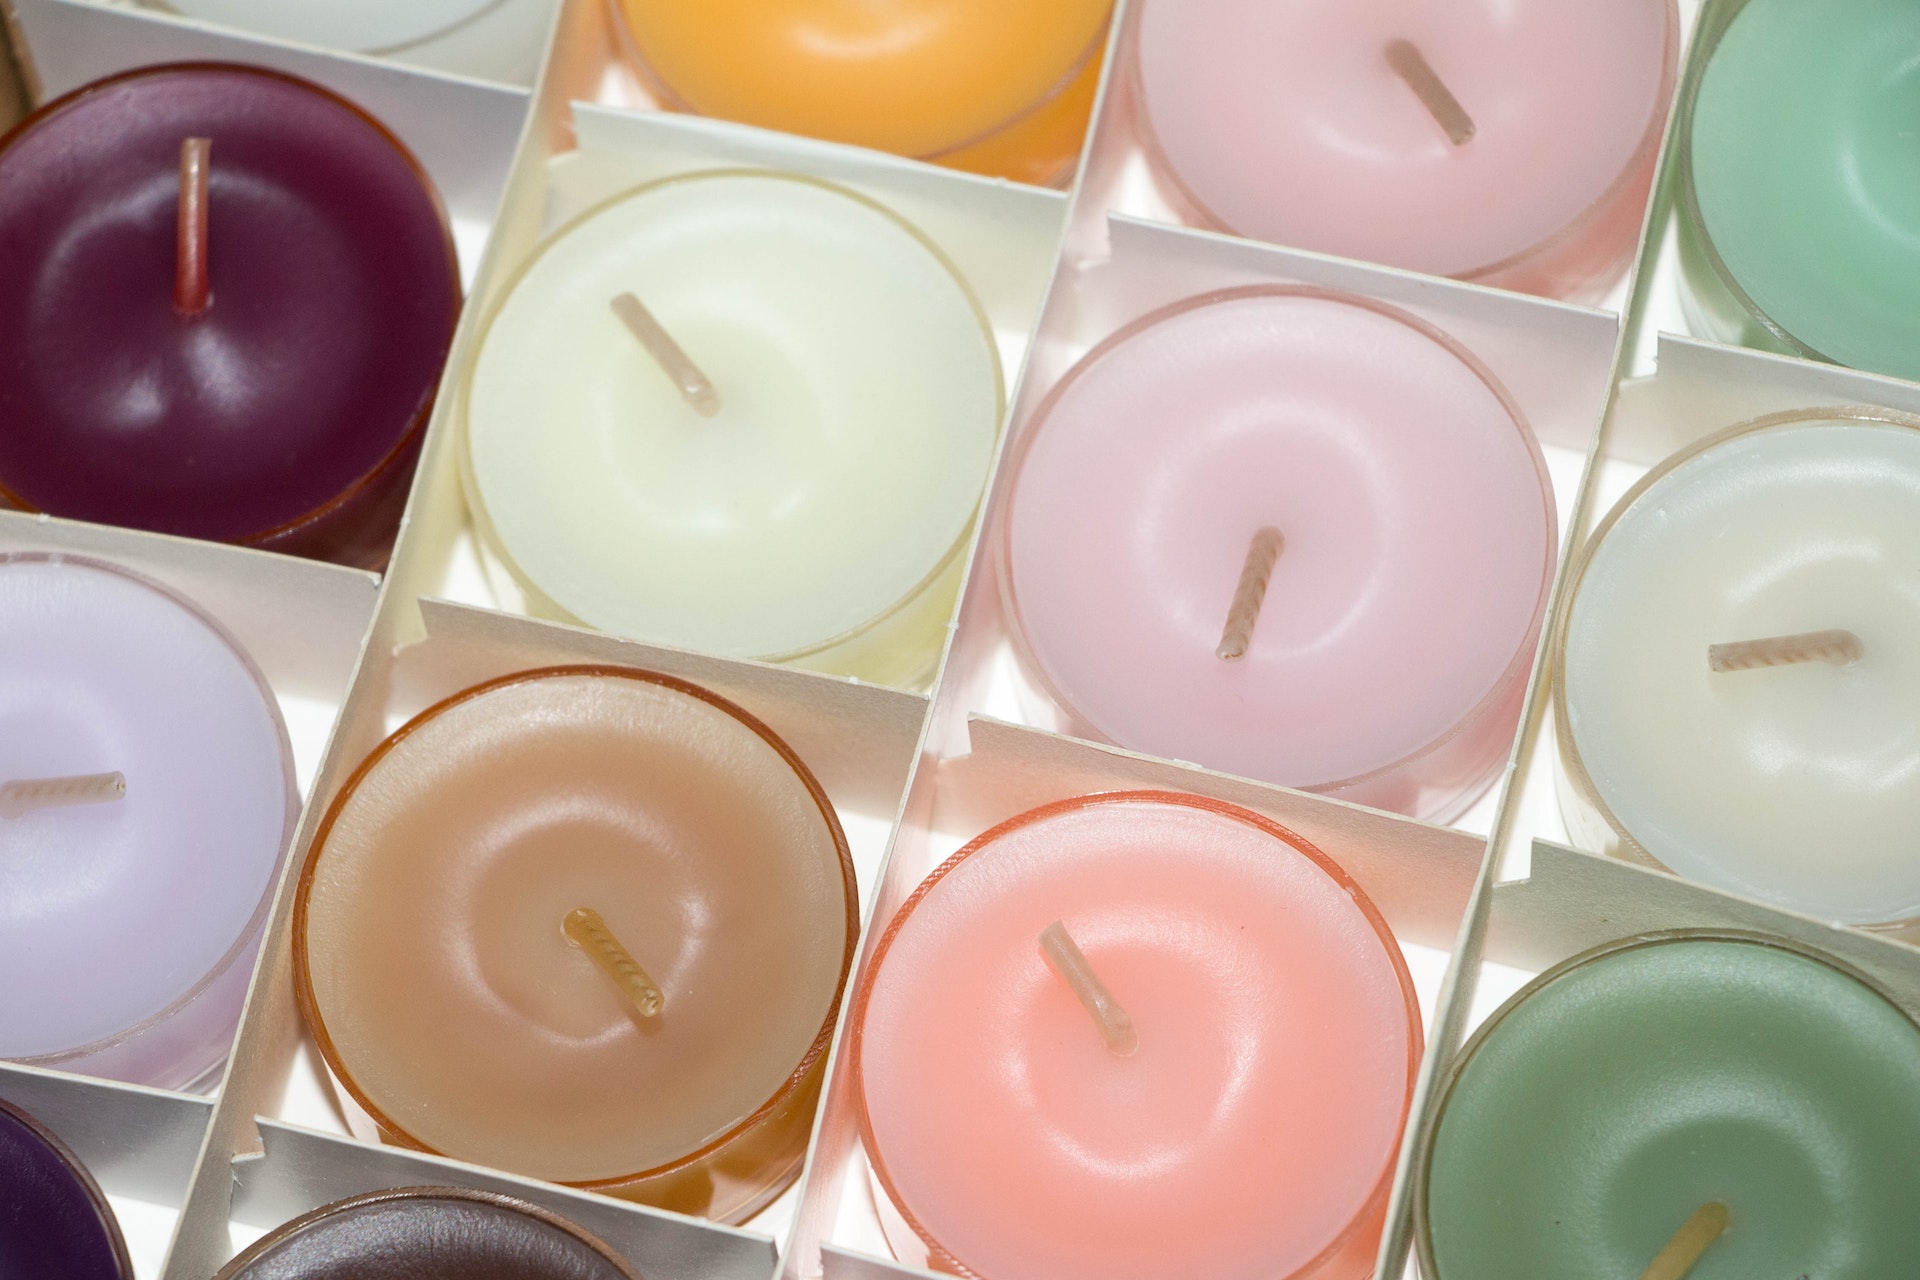
Successfully making a candle that burns properly is something that everyone can do, but it requires some education and a lot of patience. Moreover, you can learn how to successfully do it using wooden wicks by following a few simple steps. Some of the benefits of wooden wicks are:
Contents
They burn for a longer time
They burn very slowly, which means your candle will last for a long time.
They are sturdy
They do not need a clothespin, chopsticks, or any other thing to make them stand upright. This is because they come with clips and sticker tabs that hold them in place. However, if you don’t have those, you can use a little wax to make it stick to the bottom of your container.
They provide clean burning
Candle making wooden wicks do not contain heavy metals, paraffin, or carcinogenic chemicals. Therefore, they will not release toxins into the environment while they are burning.
They are sustainable
They are more sustainable compared to their cotton counterparts. Moreover, they are biodegradable and non-toxic.
How to make wooden wick candles
You will need the following items:
· Wooden wicks
· Base clips
· Soy wax
· Glass, ceramic, stone, or concrete container
· Fragrance oil
· Wax pitcher and a small saucepan.
Step 1: prepare your wicks
Place your wicks on a plate and cover them with oil. Let them soak for a few hours or overnight, so they can burn properly. The next day, take them out of the oil, remove the excess oil and it will be ready for the next step. You can choose to soak them in olive oil, melted soy wax, or fractionated coconut oil.
Step 2: Melt the wax
Put one or two cups of soy wax flakes inside a metal wax pitcher. Place the pitcher inside a saucepan that has an inch of water. Then allow the wax to melt over low heat.
Step 3: Add fragrance oils
Put fragrance oils or essential oils into the wax and mix well. Although essential oils do not produce strong scents like commercial fragrance oils, they are more non-toxic.
Step 4: Put the wick inside your container
Slide your wick into a clip. Then, place one sticker tab at the bottom of the clip and stick it to the bottom of your container by pressing it firmly to the bottom. However, if you do not have stickers, then you can pour 1/8 inch of the molten wax into your container and hold the wick upright for a few seconds until the wax hardens.
Step 5: Top up the wax
Fill the container to the top while leaving half an inch of breathing space at the top. Let the wax cool overnight.
Step 6: Trim the wick
Use a trimmer or regular scissors to cut it to get a clean, flat cut. If you want the candle to produce the best scent, let it sit for at least two to three days before you begin using it.
Conclusion
Using wooden wicks to make candles is not only an easy process, but it is also an environmentally friendly choice. This is because they do not contain harsh chemicals, they provide clean burning, they burn more slowly, and they last for a longer time.